
Post-construction cleaning step by step – how to do it properly
Construction dust, leftover grout and cement, film on the windows, paint on the windowsills – once building work is finished, there is more cleaning to do than it seems. We show how to clean up after construction in the right order, what to use on stubborn dirt and when it is better to hire a professional crew.
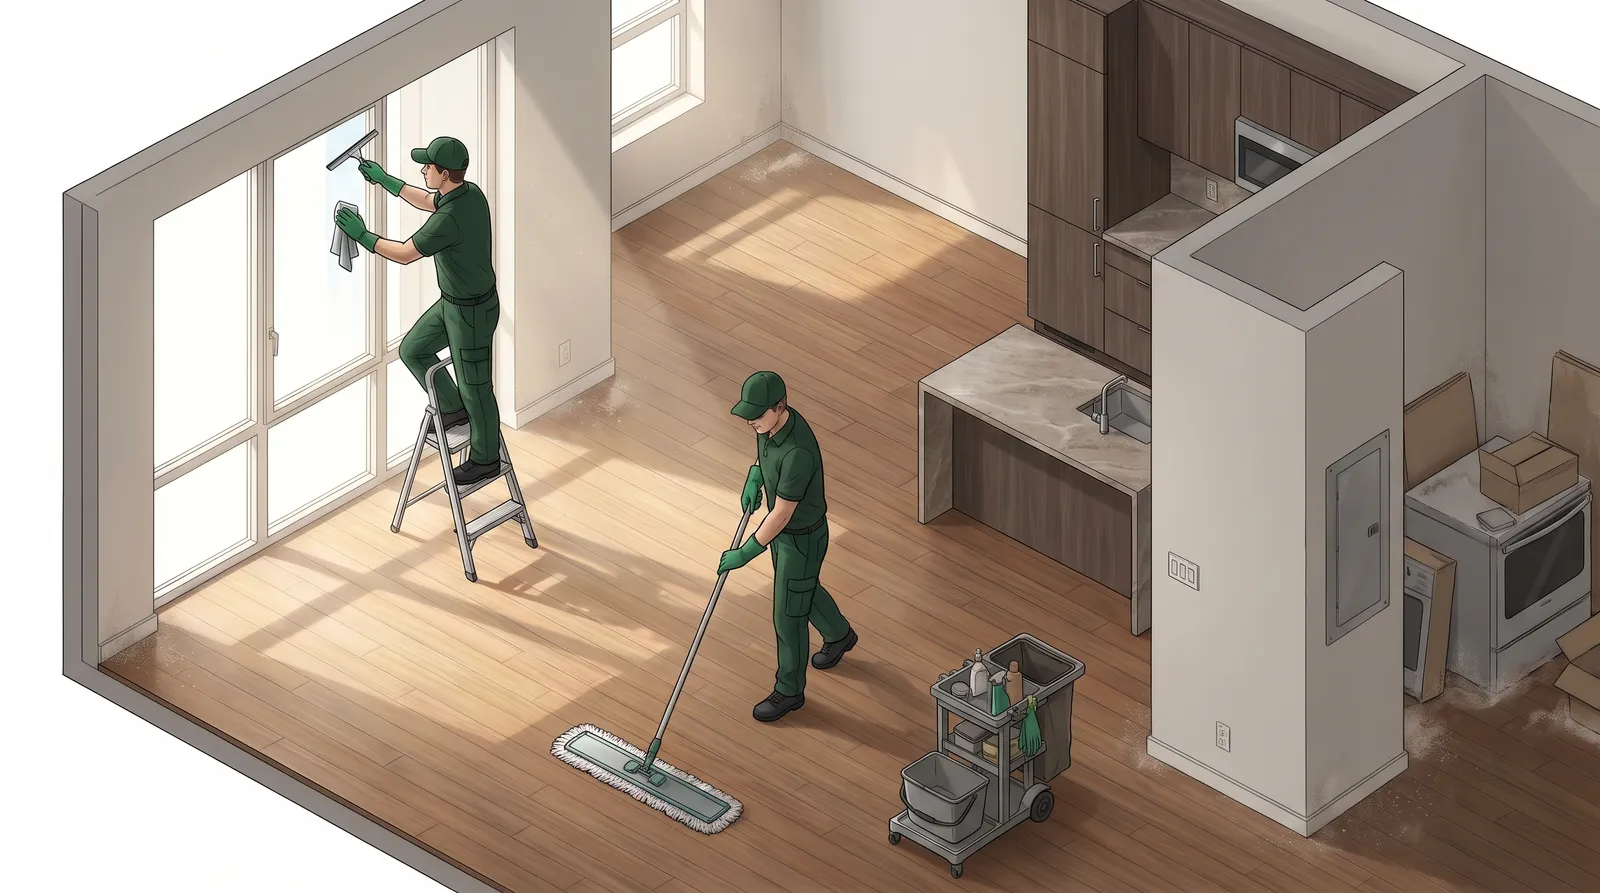
- Post-construction cleaning is done from top to bottom and from the dirtiest work to the finishing touches – otherwise dust settles back on cleaned surfaces.
- Construction dust is collected with an industrial vacuum cleaner with a filter, not a broom or an ordinary household vacuum.
- Grout and cement residue is removed with products suited to the material – acidic products can ruin natural stone and some grouts.
- Usually two stages are needed: a rough clean and a final clean before the handover inspection or moving in.
- Professional post-construction cleaning with us costs from 8 zł/m², and removing film and stickers is an extra from 3 zł/m².
How to clean up after construction – before you start
Post-construction cleaning is not just a “big clean”. The dirt is different: fine mineral dust that settles everywhere and comes back with every movement of air, dried residue of mortar, adhesive, grout and paint, protective film and tape that bond for good after a few weeks in the sun. Add to that surfaces that are easy to damage: new coated windows, taps, toughened glass, lacquered panels.
Before you start, make sure the building work really is finished. Cleaning while someone is still sanding skim coat or cutting tiles is a waste of time and money. If you are short of time, agree with the contractor on one time slot when no dusty work is going on at the site.
- Check that the electricity and water are working – you can’t clean effectively without them.
- Decide where the construction waste will go. Removing rubble and packaging is a separate service, quoted individually.
- Protect newly laid floors from heavy equipment being dragged across them.
- Make sure there is ventilation – dust settles faster when the air is exchanged, and some products require airing.
Equipment and products that really help
The most important tool is an industrial vacuum cleaner with good filtration. Plaster and cement dust is so fine that an ordinary household vacuum quickly clogs and blows some of the dust back into the room. A broom just lifts the dust into the air.
You will also need glass scrapers with replaceable blades, pads of different abrasiveness, plenty of microfibre cloths (they get dirty fast), buckets of clean rinsing water and products suited to the materials. For large floor areas a scrubber is useful, and for outdoor paving a pressure washer.
| Type of dirt | What to use | What to watch out for |
|---|---|---|
| Construction dust | industrial vacuum with a filter, then a damp microfibre cloth | don’t dry-sweep, don’t start with wet cleaning |
| Grout and cement residue on tiles | a mortar remover suited to the tiles, a pad, clean water | acidic products ruin natural stone and can discolour grout |
| Paint and adhesive on glass | a scraper with a new blade on wet glass | don’t scrape dry, take care with coated glass |
| Protective film and tape | peel off slowly, adhesive removers | film heated by the sun leaves adhesive; don’t use sharp tools on frames |
| Silicone and expanding foam | mechanically, a plastic spatula, a suitable solvent | test on a hidden spot |
| Mortar spots on wooden floors | gently by hand, minimum water | wood and laminate don’t like wet cleaning |
Post-construction cleaning step by step – the order of work
The order matters more than the products. The rule is simple: top to bottom, dry to wet, rough to final. Below is the plan we follow on building sites in Warsaw and the surrounding area.
Step 1: removing waste and the rough clean
First, remove everything that can be carried out: boxes, adhesive bags, offcuts of board and polystyrene, bits of tile. Then collect coarse dirt and dust from the floors with an industrial vacuum. At this stage, don’t clean anything wet yet – wet dust turns into a grey sludge that gets smeared over the whole surface.
It is also worth taking loose film off floors and furniture right away, but leave the protective film on windows and frames until later, until you have finished the dusty clean-up work.
Step 2: vacuuming from the ceiling down
Dust settles on everything: the top edges of doors and frames, skirting boards, window tracks, windowsills, sockets and electrical boxes, ventilation grilles, inside cupboards. Vacuum from the highest points, through walls and windowsills, with the floor last. Window tracks and sliding door runners are especially important – sand left in them scratches the mechanisms the first time they are used.
Step 3: removing grout, cement and other dried-on dirt
This is the most labour-intensive stage. After grouting, tiles are often left with a thin, matt film – grout haze. It is removed with a product designed for cement mortars, chosen to suit the type of tile. Acidic products work well on porcelain stoneware and glazed ceramics, but on marble, travertine and other limestones they can leave permanent dull patches. Epoxy grout needs a different product from cement grout.
When removing grout and cement residue, always start with a test on an inconspicuous spot. Work in small sections, don’t let the product dry, and rinse with clean water straight away. Remove thick lumps of mortar gently by hand first (with a plastic spatula or a scraper held at an angle), and only then finish with chemicals.
The same goes for paint and adhesive on glass: the scraper is run over wet glass, at a low angle, always with a new blade. Scrapers should not be used on PVC and aluminium frames – adhesive removers and soft pads work better there.
Step 4: windows, film and glazing
Once no more dusty work is going on in the room, take the protective film off the window frames and sills. Film that has been in the sun for a few weeks leaves adhesive – it is removed with an adhesive remover, not a sharp tool. Then we clean the frames, seals, glass and sills, and finally the tracks and drainage holes.
Windows after construction need more work than ordinary cleaning, so we quote them from 15 zł/m², and removing film and stickers is an extra from 3 zł/m². For large properties with a lot of glazing, a cleaning package including window cleaning from 8 zł/m² of floor area is often chosen. You can read more about windows on the window cleaning page.
Step 5: kitchen, bathrooms and taps
In bathrooms we remove grout residue from tiles, silicone from taps and sanitary ware, and manufacturers’ stickers from baths, shower trays and mirrors. Taps are cleaned with mild products – new chrome and matt black finishes are easy to scratch or discolour. In the kitchen we clean the fronts, worktops, cupboard interiors (dust gets everywhere), the cooker hood and the outside of appliances, and remove film from the fronts.
Pay special attention to drains, traps and floor gullies. During the work, mortar, grout or adhesive residue often gets into them, hardens and restricts the flow. It is better to check them straight away, during the clean, than a few weeks after moving in when the water starts draining slowly. Before using the dishwasher and washing machine for the first time, it is also worth cleaning the dust out of their filters.
Step 6: washing floors and the final clean
Floors are washed at the very end, usually twice. The first wash picks up the remaining dust, the second removes streaks and haze. On large areas – offices, commercial premises, halls – a scrubber that washes and sucks up the dirty water at the same time works faster and more thoroughly. On laminate and wood we use a minimum of water and products designed for those materials.
The final clean is a last wipe of all surfaces with a damp microfibre cloth, cleaning sockets, switches and door handles, and checking the glass against the light. If a few days pass between the clean and the handover, a quick refresh is worthwhile – dust keeps settling for a while.
The most common mistakes in post-construction cleaning
Most damage during post-construction cleaning is caused not by lack of care, but by haste and the wrong choice of products. These are the mistakes we see most often when we come in to fix a DIY clean.
- Wet cleaning before vacuuming – the dust turns into a cement sludge that dries in the grout lines and on skirting boards.
- Scraping glass dry or with a blunt blade – leaves scratches visible against the light that can’t be removed.
- Strong “all-purpose” chemicals – an acidic grout cleaner used on a stone worktop or on taps can permanently dull the surface.
- An ordinary household vacuum – clogs after a quarter of an hour, and the filter lets the finest dust back into the room.
- Skipping window tracks and drainage holes – sand scratches the mechanisms, and blocked drainage holes flood the sills at the first rain.
- Cleaning while builders are still working – after one day of sanding you have to start all over again.
Post-construction cleaning checklist
Before the handover inspection or moving in, go through the property with this list. If something has been missed, it is easier to fix straight away than after the furniture has been brought in.
- Glass free of streaks, paint, adhesive and stickers; frames and seals clean.
- Window and sliding door tracks free of sand.
- Inside and outside windowsills washed.
- Tiles free of grout haze, grout lines clean and even.
- Taps and sanitary ware free of silicone and stickers.
- Inside of cupboards and drawers vacuumed and wiped.
- Sockets, switches and ventilation grilles free of dust.
- Doors, frames and skirting boards wiped along their full length.
- Floors washed twice, with no streaks.
- Waste removed, the area by the entrance swept.
DIY or a company? When it is worth hiring post-construction cleaning
Many people clean a flat themselves after a small renovation. With a new house, office, commercial unit or a whole building, DIY cleaning usually takes several days and requires equipment you don’t have at home. Then there is the risk: a scratched pane, dulled stone or discoloured grout cost many times more than a professional service.
Professional post-construction cleaning costs from 8 zł/m² with us, pre-handover cleaning also from 8 zł/m², and construction dust removal alone from 8 zł/m². We work with our own equipment: industrial vacuums, scrubbers, pressure washers. We issue an invoice and have third-party liability insurance. If the work was smaller, see the post-renovation cleaning page – there we describe the scope for flats and offices after renovation, and we discuss prices in the article how much does post-renovation cleaning cost.
How does it work with us? You tell us about the property, we quote based on photos or a free site visit, we agree the date (including weekends or evenings), and when the work is done we do a joint walk-through. A shop owner in Śródmieście put it like this: “After the renovation there was dust everywhere. In one day the team got everything to a state where we could open the shop.”
After the clean: what next
In a new office or commercial unit, it is a good idea to set up regular cleaning straight away – after construction, dust keeps coming out of nooks and crannies for several weeks, so more frequent visits at the start make sense. You will find our business offer on the office cleaning page. If the property has a lot of floor area, also consider periodic machine floor cleaning.
No time or equipment for post-construction cleaning? Send us photos or book a free site visit – we will call you back within 15 minutes during working hours. You can check an indicative price in the calculator.
Post-construction cleaning →Questions and answers
How do you clean up after construction so the dust doesn’t come back?
What removes grout and cement residue from tiles?
How long does post-construction cleaning take?
How much does professional post-construction cleaning cost?
Do you clean houses after construction?
Quote in 1 minute
Choose your premises, answer a few questions and see an estimated price. No sign-up, no obligation.
- 01You answer a few questionsProperty type, floor area or rooms, frequency, date.
- 02You see an estimated priceStraight away on screen, no waiting for an email.
- 03We call back within 15 minutesWe arrange a site visit and send you a written offer.
Would you rather talk straight away? +48 881 331 880 · WhatsApp
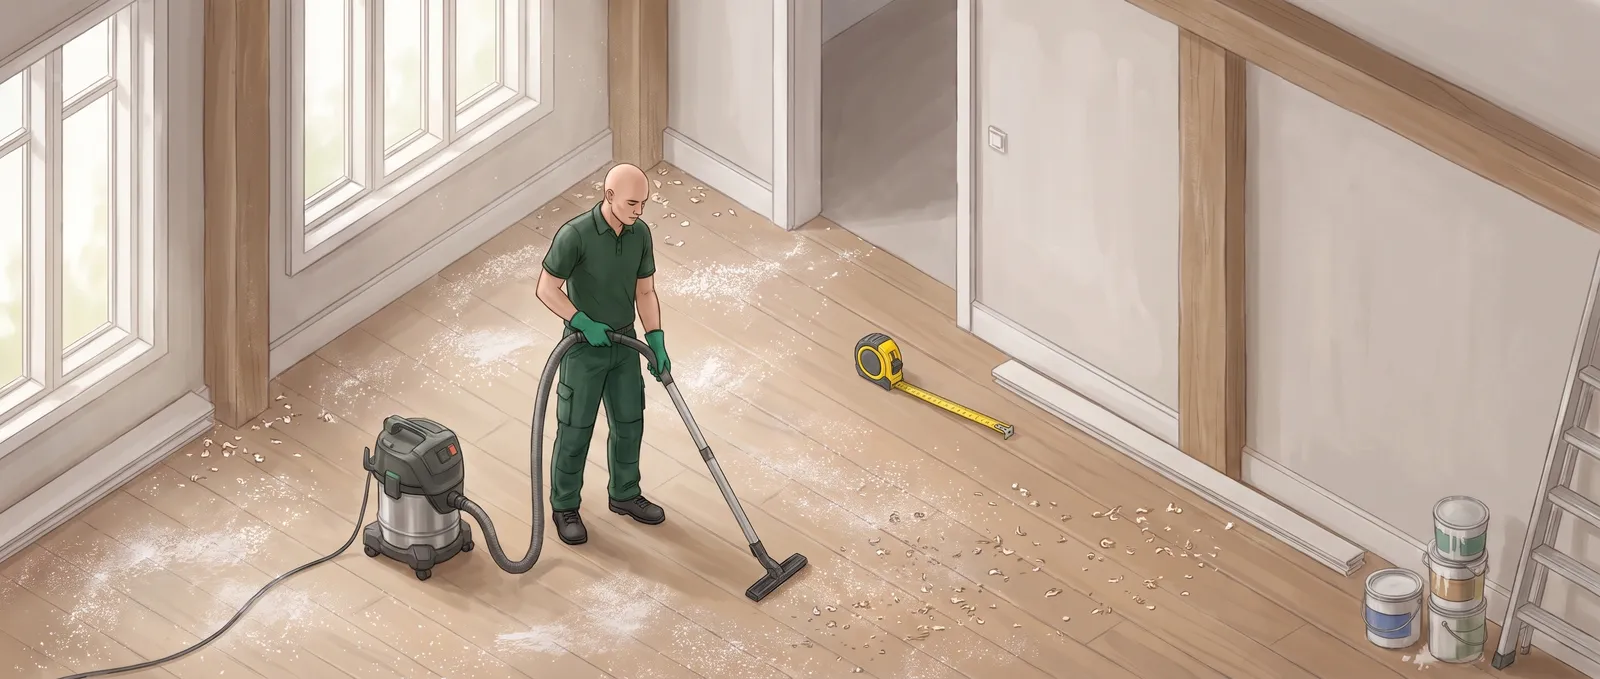
How much does post-renovation cleaning cost? Prices per m² and worked examples
The renovation is finished, but there is dust everywhere, paint on the windows and grout haze on the tiles. We explain how much cleaning aft…
How often should you clean office windows? A practical schedule
Dirty office windows are noticed straight away – from the street, from the meeting room and in video calls. We explain how often to clean of…
How much does office cleaning cost in 2026? Prices per m² and examples
The monthly cost of a cleaning company depends mainly on floor area, visit frequency and scope of work. We show how we calculate the price o…
Describe your premises and we’ll work out the price
We call back within 15 minutes during working hours. Site visits and quotes for larger premises are free.